
Best Fresh Milled Flour Bread Recipe – Step-by-Step

Alright—look, I wasn’t planning to fall in love with bread. I was just trying to make something decent at home, right? But then I stumbled into the world of fresh milled flour, and well… that changed everything. I’m talking about bread that smells like toasted fields, that tastes rich and nutty without even needing butter (though let’s be honest—still gonna slather some on). If you’ve never baked with flour, let me walk you through it. Step by step. Mistakes, mess, magic—all of it.
What is Fresh Milled Flour?
If you think about grocery store bags of flour, forget it. This is the good stuff. Whole wheat berries are turned into flour right before you bake. That means you get everything wheat has to offer—the germ and bran, and heart of the wheat. The flour is alive. Smells different; feels different, tastes different… a whole lot better.
And yeah, the difference is real. Store-bought flour? It’s kind of tired. Been sitting around too long, lost its spark. But when you mill your own? You get this bold, earthy flavor that seriously transforms your bread.

What kind of grain should you use?
- Hard red wheat: Think bold, nutty, classic whole wheat bread. A little dense, in a good way.
- Hard white wheat: Milder, sweeter. Great for sandwich loaves or if you’re easing into whole wheat.
- Spelt: Light, a little sweet, softer. Less gluten, so your dough might be more relaxed.
- Rye: Oh man. Rye is earthy, deep, but heavy. Mix it with wheat, or it’ll feel like a brick.
Stuff you’ll need (but seriously, don’t overthink it)
Okay, people will tell you to buy ALL the gear. Don’t. Here’s what I actually use:
- A grain mill – This one’s non-negotiable. I’ve got a simple countertop electric one. Works great.
- A big mixing bowl – Or a stand mixer if you’ve got one. Kneading by hand? Also cool.
- Dough scraper – Cheap and wildly helpful.
- A Dutch oven – This is where the crust magic happens. Holds the steam in while baking.
- A kitchen scale – Please weigh your stuff. It matters. Cups lie.
That’s really it. You don’t need bannetons, linen cloths, or anything fancy to start. Just the basics. The rest? You’ll pick it up along the way.
The Actual Bread Recipe: Fresh Milled Flour Bread Recipe (aka let’s get messy)
Alright, deep breath. Here’s the full process. I’ll give you the basics, but remember—this isn’t about perfection. This is homemade, remember? You can also check out this simple fresh flour bread recipe for another easy approach.
Ingredients:
- 500g fresh milled whole wheat flour
- 375g water (yeah, it’s sticky)
- 10g salt
- 1 tsp instant yeast (or 100g sourdough starter if that’s your jam)
Step 1: Mill the flour
Mill it right before you use it. It takes a few minutes. Aim for a fine grind, but don’t stress too much. It’ll look kind of fluffy but a bit gritty. Totally normal.
Step 2: Mix the flour and water
Just those two. No salt or yeast yet. Stir them together, let them rest for 30–45 minutes. This is called autolyse, but whatever—you’re just letting the flour soak and chill. It helps.
Step 3: Add salt and yeast
Now add the salt and yeast and knead them all together. You can knead by hand on the counter or toss it in a mixer. I do about 8 minutes by hand. It gets sticky, so use a scraper and wet your hands if needed.
Step 4: Bulk fermentation (a.k.a. the first rise)
Let rise for 1.5 to 2 hours. I typically cover it with a damp towel for this period and find a warmish spot (not too hot) to leave it. You can always do a couple of stretches and folds after 30 minutes or so during the bulk rise if you feel ambitious. The stretch and fold is simply putting your hand underneath the dough on one side, stretching the dough up and folding it over the top of the loaf, then repeating this process on all sides. This will help create some strength.
Step 5: Shape the dough
Gently, do not squish the dough and risk losing its risen volume. Turn out onto a lightly floured surface, shape it into a round or oval loaf, depending on how you’d like the loaf to look in the end, and tuck the edges underneath. Step 6: Final proof
Now we will put our dough in a floured bowl or proofing basket. And let it rise again, for about an hour. Or you can do what I do. Cover the dough and stick it in the fridge overnight. A slower rise will give a better flavor. It also allows you to make bread first thing the next day.
Step 6: Bake.
Turn the oven to 475°F and put a Dutch oven in while it preheats. When the oven, Dutch oven and the cargill flour bag are all hot, put the dough into the pot, score with a knife or lame (a single deep slash is fine), cover and bake.
Step 7: Let. It's cool.
This part’s torture. The smell? Unreal. But seriously—let it cool for an hour. Cutting it too soon makes it gummy. Trust me.
Once you’ve nailed the basics... go wild.
This is where things get fun. You don’t have to stick with plain whole wheat. Try variations like sourdough discard sandwich bread for a twist that’s just as rustic and satisfying.
Add in seed: sunflower, sesame, flax—whatever you like.
Add in herbs: rosemary, thyme, even garlic.
Make it sweet: cinnamon, raisins, honey, orange zest, whatever… Great for breakfast.
Mix grains: 75% wheat, 25% spelt or rye.
Some things I wish someone had told me earlier
- Fresh flour loves water – More than you think. If your dough feels wet, that’s okay. Just go with it.
- It rises faster – Don’t wander off for 3 hours during the bulk rise. Keep an eye on it.
- Your first loaf might flop – It happens. Mine looked like a pancake. Still tasted great.
Storing and eating your masterpiece
- Keep it wrapped in a towel or paper bag for 2–3 days.
- Slice and freeze if you won’t finish it. Toasts beautifully.
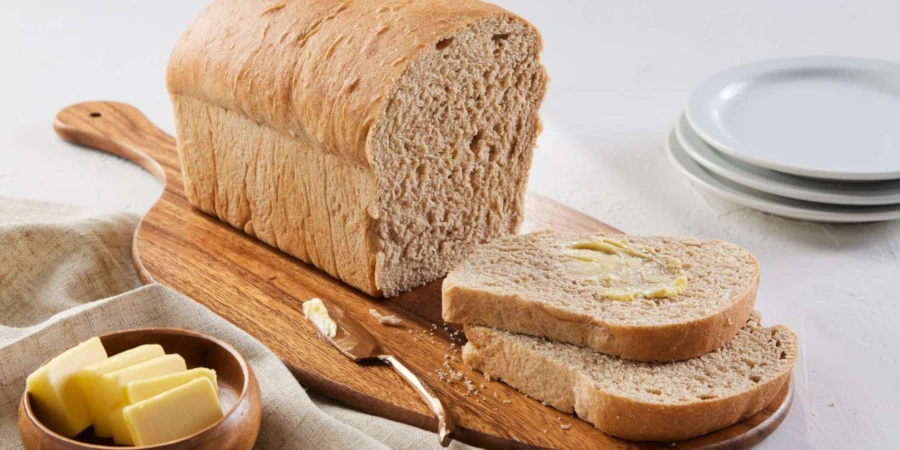
- Favorite way to eat it? Toast with salted butter. That’s it. Perfection. Or switch things up and enjoy a slice of homemade banana bread for a sweet and soft alternative.
Final Thoughts
Baking with fresh-milled flour just feels… different. More intentional. More real. You’re not just making food—you’re creating something from scratch, from the grain up. And yeah, it takes a bit more effort. But once you’ve done it a few times? It becomes part of your rhythm. Something that grounds you.
Just the smell will keep you coming back.
So if you feel inspired to bake, just do it. Mess it up. Try again. And eventually you will pull a warm golden loaf out of the oven and think: “I made this. From grain.”
And it is a pretty special feeling.
FAQs
Can I use fresh flour in any recipe?
Yep! Just be ready to adjust the water a little. And watch the rise times—they move faster.
Do I have to sift?
Nah. Some people do for a lighter crumb, but I like all the bran in there.
Can I freeze the dough?
Sure can. Shape it first, then freeze. Thaw in the fridge and let it finish proofing.
What if I don’t have a grain mill?
See if a local store mills flour fresh. Or borrow one. But honestly, you’ll want your own soon.